Fence Design
Designing and building a fence can be a daunting challenge for gardeners new and old. It can take years of experience before you’re able to settle on a fence design that works for you. Below we will hopefully give you ideas on ways to build your fence so that you can have a happy and pest-free gardening experience. If you would like to expand on the information included on this page, contact us.
Rose Tree Garden Pests
Deer
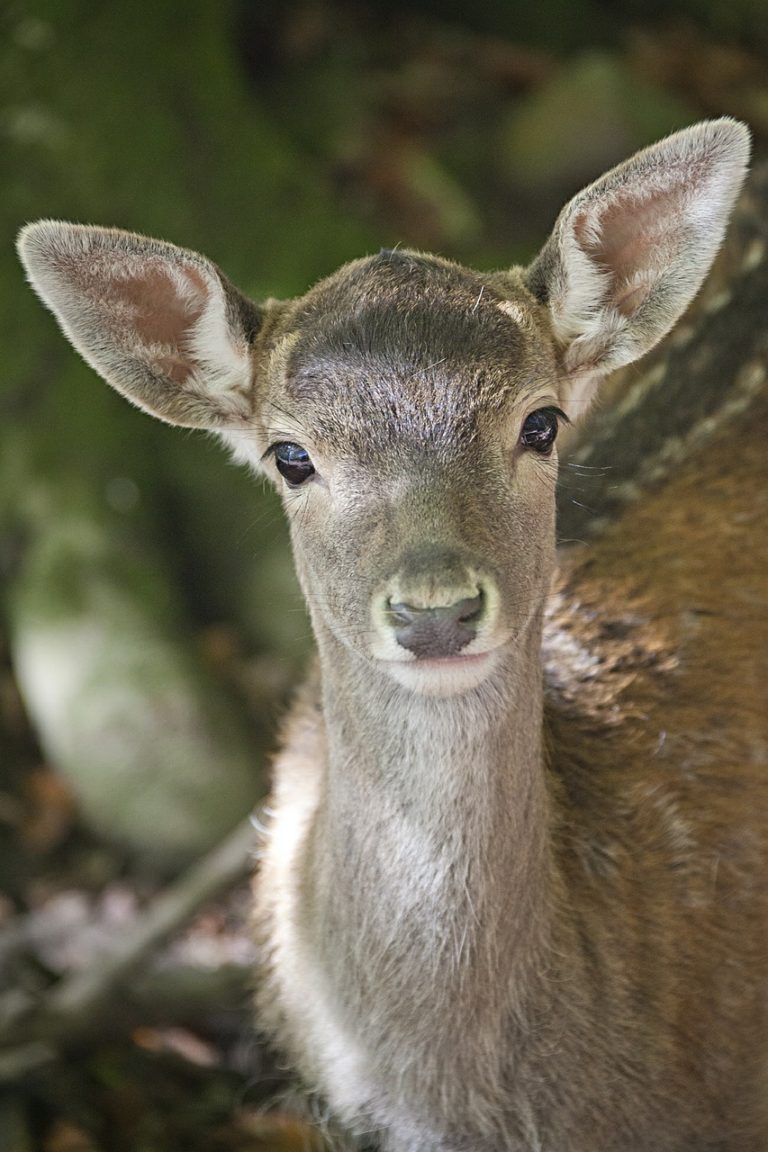
The deer that live in and around Rose Tree Park have done so for many years. This means they have enjoyed grazing on the fruits of our hard labor for just as long. They have gotten used to the safe and steady food supply that comes every summer and little will prevent them from obtaining it. While deer fencing can be effective, a deer that has gotten into the habit of visiting your plot will continue to do so, even if it means knocking the fence down.
So what steps can you take to keep the deer away? Deer are creatures of habit. Once they discover that your plot has delicious food and that it is easy to get in, they will keep coming back even if you improve on your fence design later. You should take steps to reinforce your fence before the deer start attacking. See fence design tips below.
Another method include scent repellents (rotten eggs, predator hair), but these need to be applied regularly due to rain.
North Carolina Wildlife Resource Commission: Fencing to Exclude Deer
Small Mammals
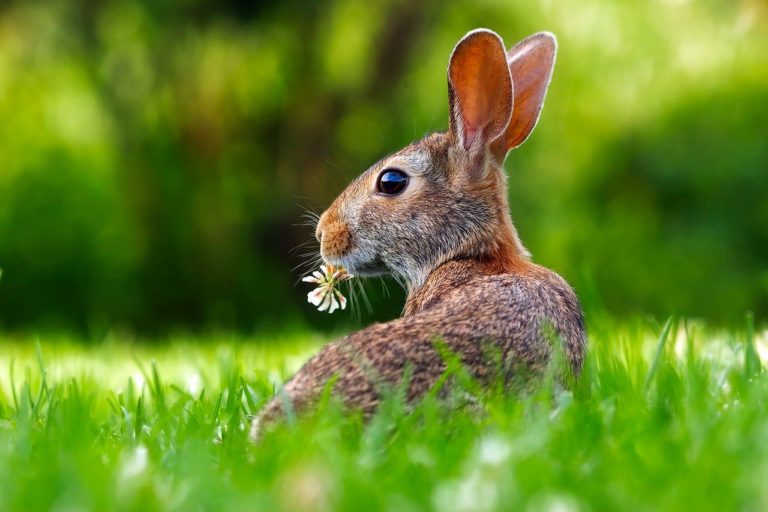
Groundhogs, rabbits, and mice are known to frequent the gardens. While mice aren’t known to damage plots in an significant manner, groundhogs and rabbits will cause substantial damage to your produce.
When planning a prevention strategy, you must be aware of a couple facts. First, rabbits will chew through most types of fencing material. Second, both rabbits and groundhogs are very skilled at digging. This means you will need to use a metal fence with either the bottom part positioned underground or a supplemental metal fenced lying on top of the soil.
Many gardeners use a shorter (~2 foot tall) section of fencing at the bottom to prevent the small mammals with a larger fence on top to prevent the deer. Even though the metal fencing of choice for a lot of gardeners is chicken wire due to its low cost, we would recommend welded wire animal fencing due to its increased durability and ease of use. When shopping for fencing, be sure to select one with small holes (no smaller than 1 inch) at the bottom and one that is galvanized to prevent rust. PVC coatings to not prevent rust long-term.
How To Build A Fence
Requirements
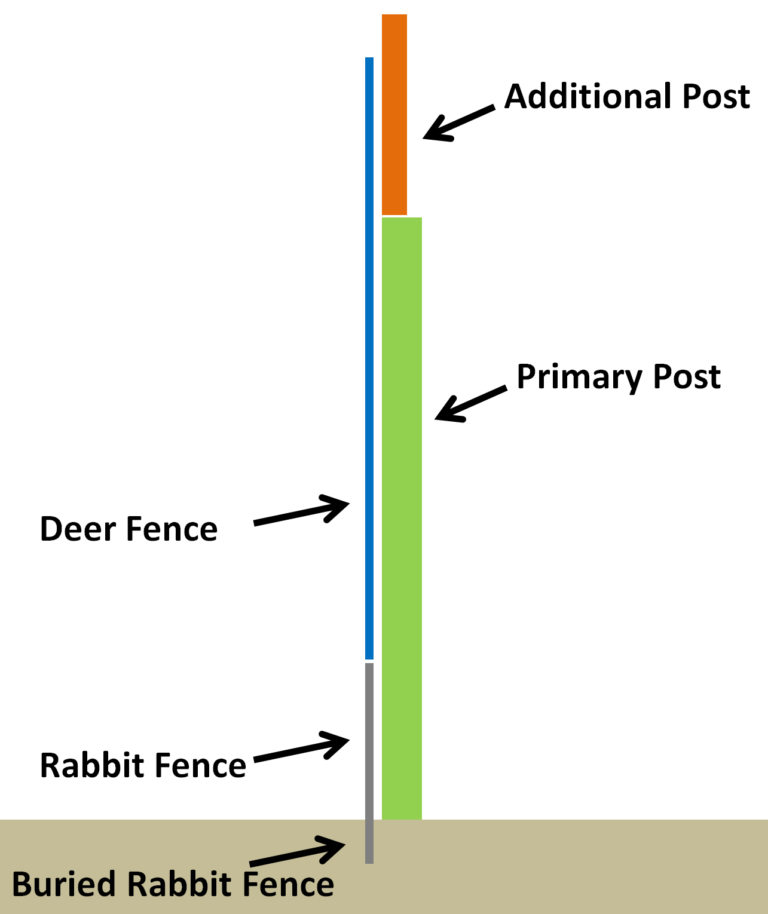
As we discussed, your fence is mainly there to protect against deer and small mammals such as rabbits and groundhogs. This requires two fences in one. The bottom 2 feet should contain a galvanized steel fence such as hardware cloth or chicken wire. The top section of the fence can be either steel or another material such as nylon but must reach to at least 6 feet tall (more is better) to prevent deer from jumping over.
The second requirement is for it to be removable so that it can be stored until next season. This is the most difficult part of the fence design but with a little forethought it is possible to construct a sturdy yet portable fence.
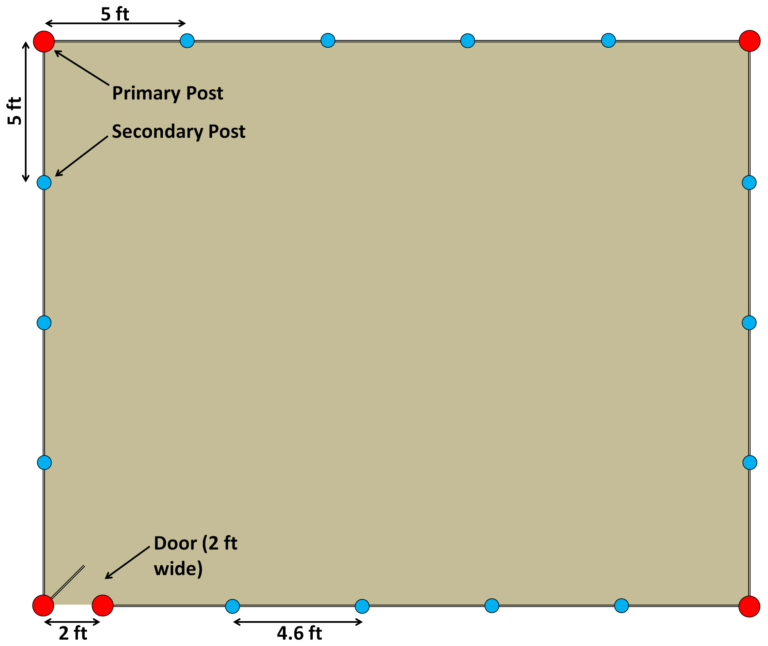
Lastly, you will need to make sure to have enough material to create a fence that completely surrounds your plot. Each plot is 20ft x 25 ft and requires a total of 90 feet of fencing material. You will also need to have a point of access (door, movable fence section, etc).
Materials
Using the requirements we laid out, lets list the materials needed to build a fence. We will start with the fence posts.
Each plot requires 4 sturdy posts for the corners and an assortment of weaker posts in between. If you would rather have sturdy posts all around, you can go that route.
- 5 Primary Posts: 7 ft T-Posts
- 14 Secondary Posts: 5 ft Light Duty Post
- Additional Post: Bamboo Stakes or small pieces of wood
- 90 ft Rabbit Fence: Welded wire animal fencing (1 inch spacing)
- 90 ft Deer Fence: Plastic deer fencing
- Fastening Material
Construction
The construction of your fence can be time consuming process, but it will be time well-spent. Successfully preventing pests from entering your garden will pay off dividends in terms of increased harvests. So lets step through the process.
You will begin construction by laying out your primary corner posts making sure to drive them the recommended distance into the ground. They will serve as the anchor points for the rest of the fence. Once you are satisfied, evenly space out your secondary posts and drive them the recommended distance into the ground. The last step is to attach the additional fence posts to the tops of the ones currently in the ground. We recommend only temporarily attaching them so that you can adjust their height once all the fencing material is in place.
The next step is to dig a shallow trench around your plot just wide and deep enough so slide the welded rabbit fence 2-4 inches into the ground. This is a crucial step in preventing burrowing animals from getting into your plot. Once the rabbit fencing is in place, attach it to the fence posts using zip ties, garden ties, or strips cut from an old T-shirt.
The deer fence should now be installed so that it overlaps the top of the rabbit fence by a couple inches. This step will probably require a helper since deer fencing is tall and unwieldy. Tie the fencing to the fence posts as you work around the perimeter of your plot. Come back later to fully secure the deer fence once you know it is positioned correctly.
Finish up the fence by adjusting the height of the additional post and securing it properly. Depending on how you are configuring your garden door, you are now done with your fence and can begin the process of preparing your garden for planting.


